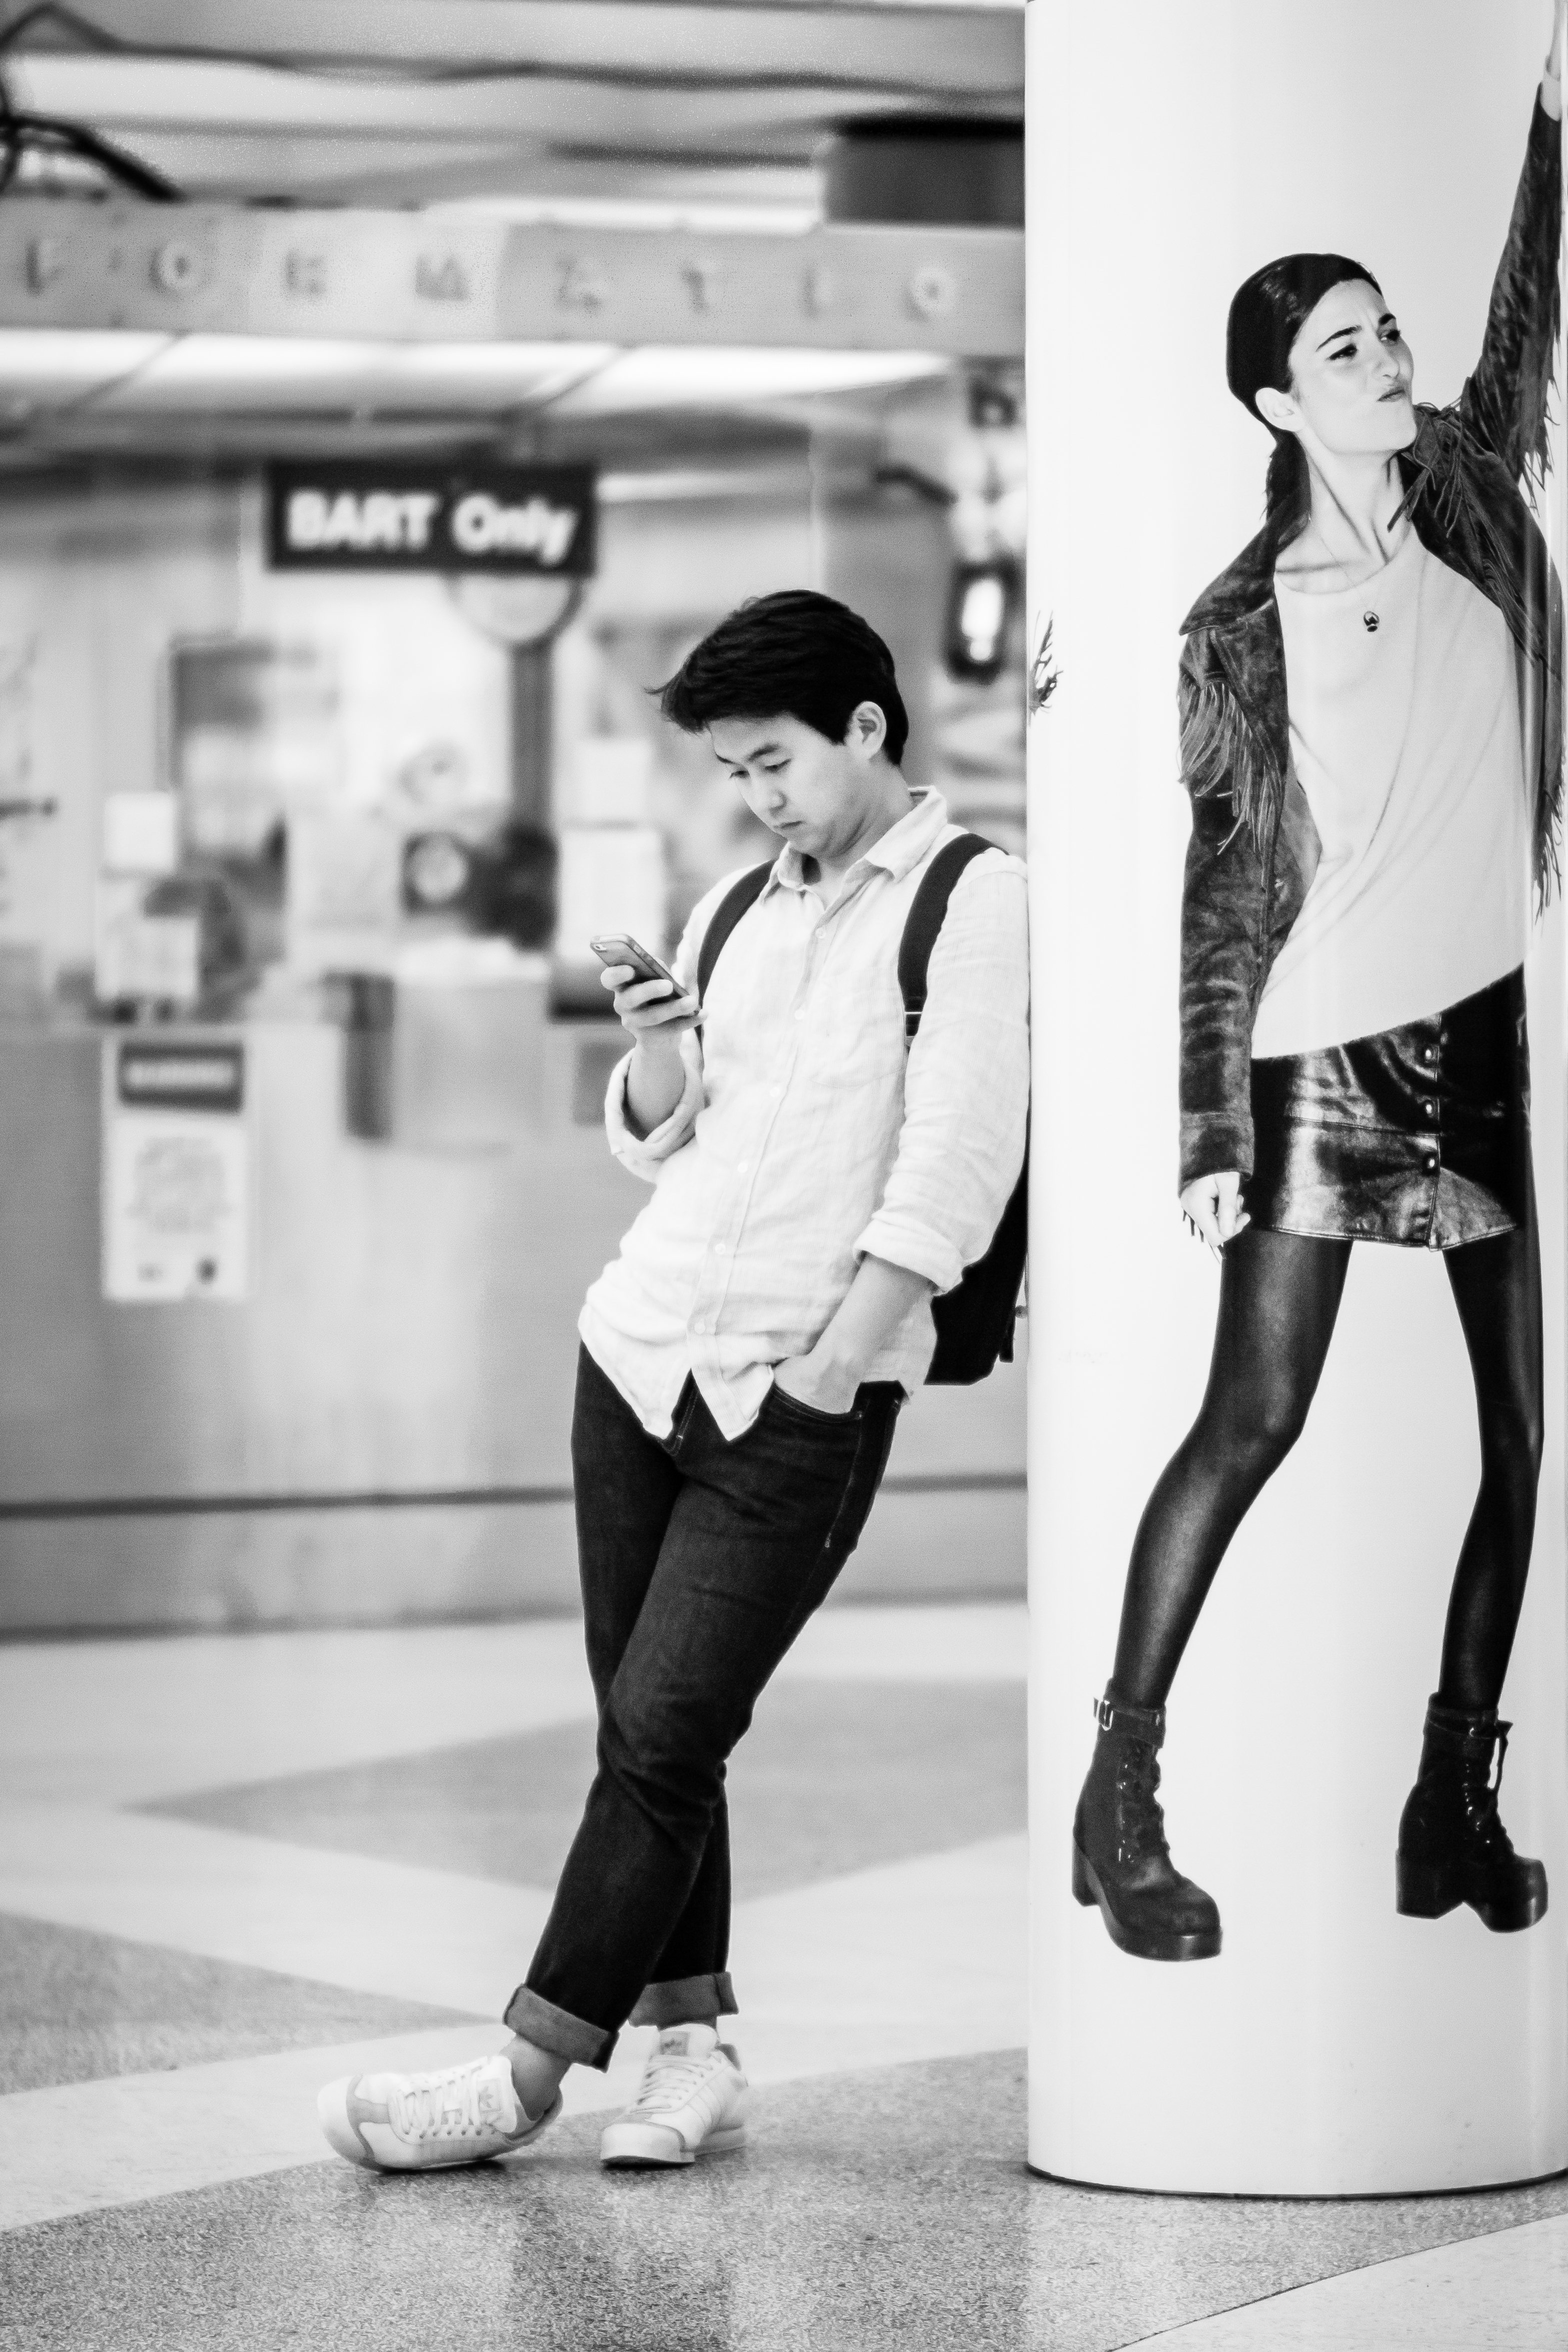
Wanted to shoot some street photography with my kit lens this week but didn't end up getting too many shots. This picture was taken on my way home at the Montgomery BART station.

Didn't get enough time to edit all the pictures this week. So, I'm going to cheat and upload one from two weeks ago. I took this around Lake Merritt during the evening.

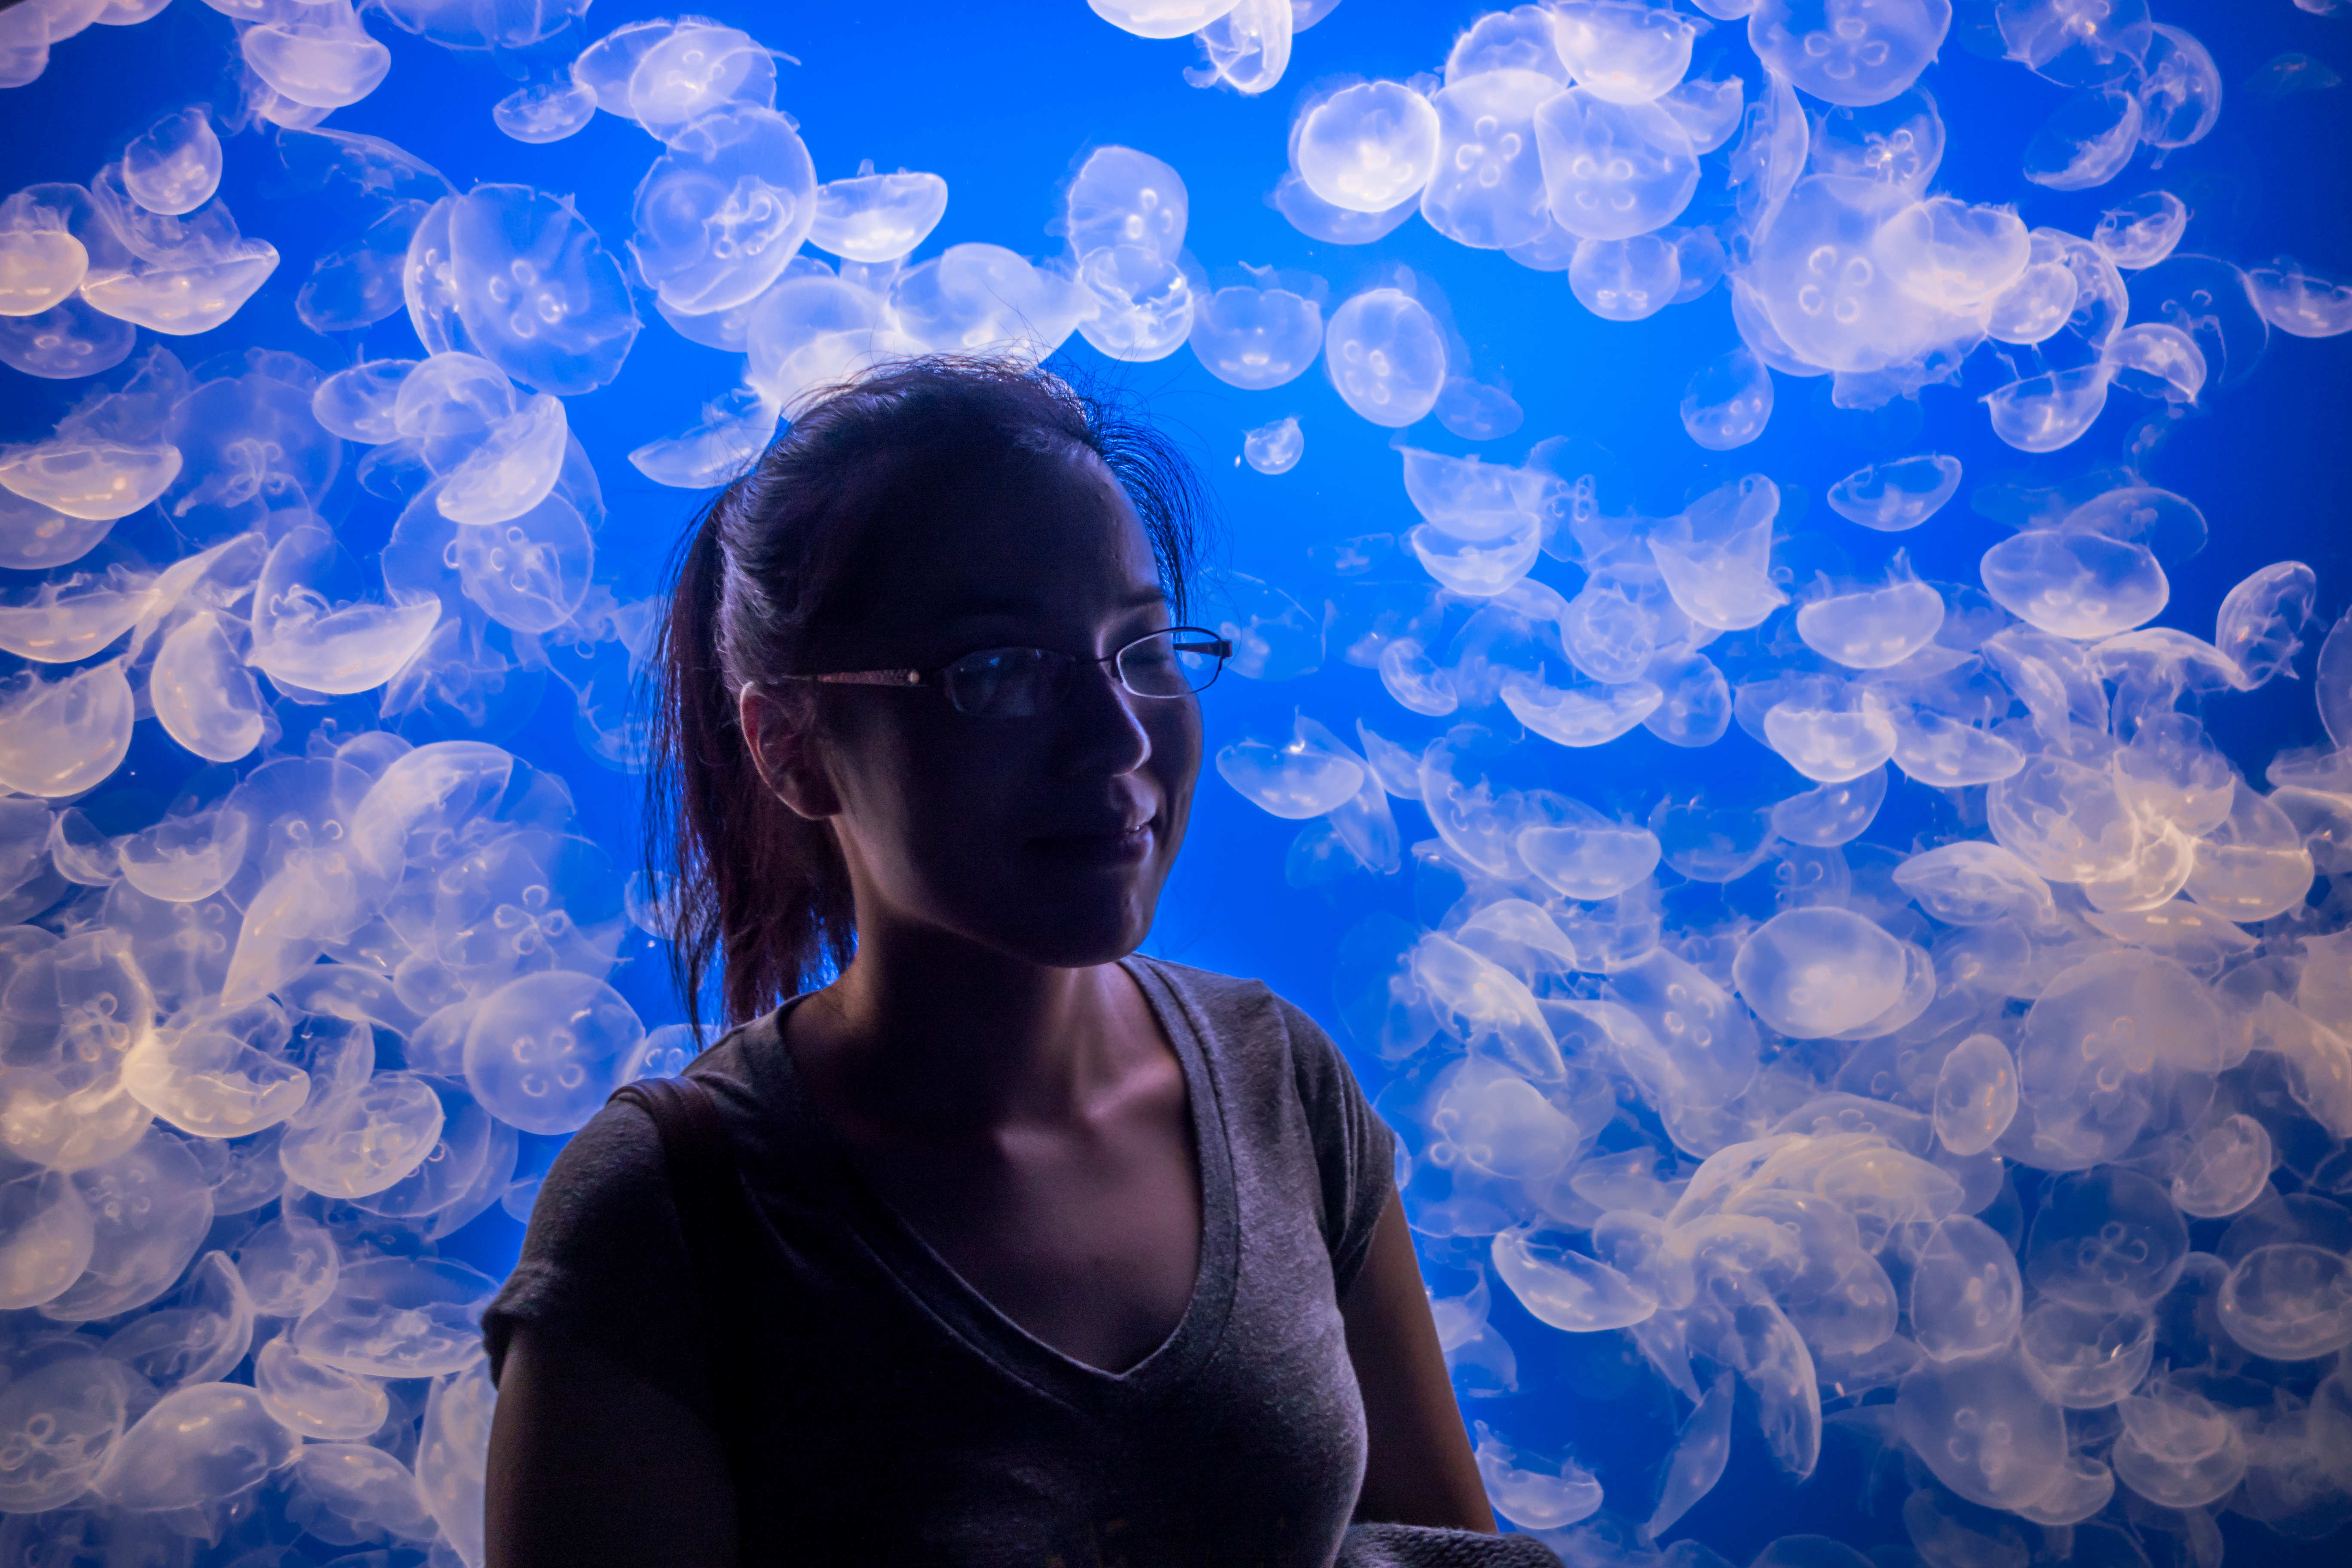
Shot with my Sony RX100 & lots of post Lightroom shadow noise reductions.
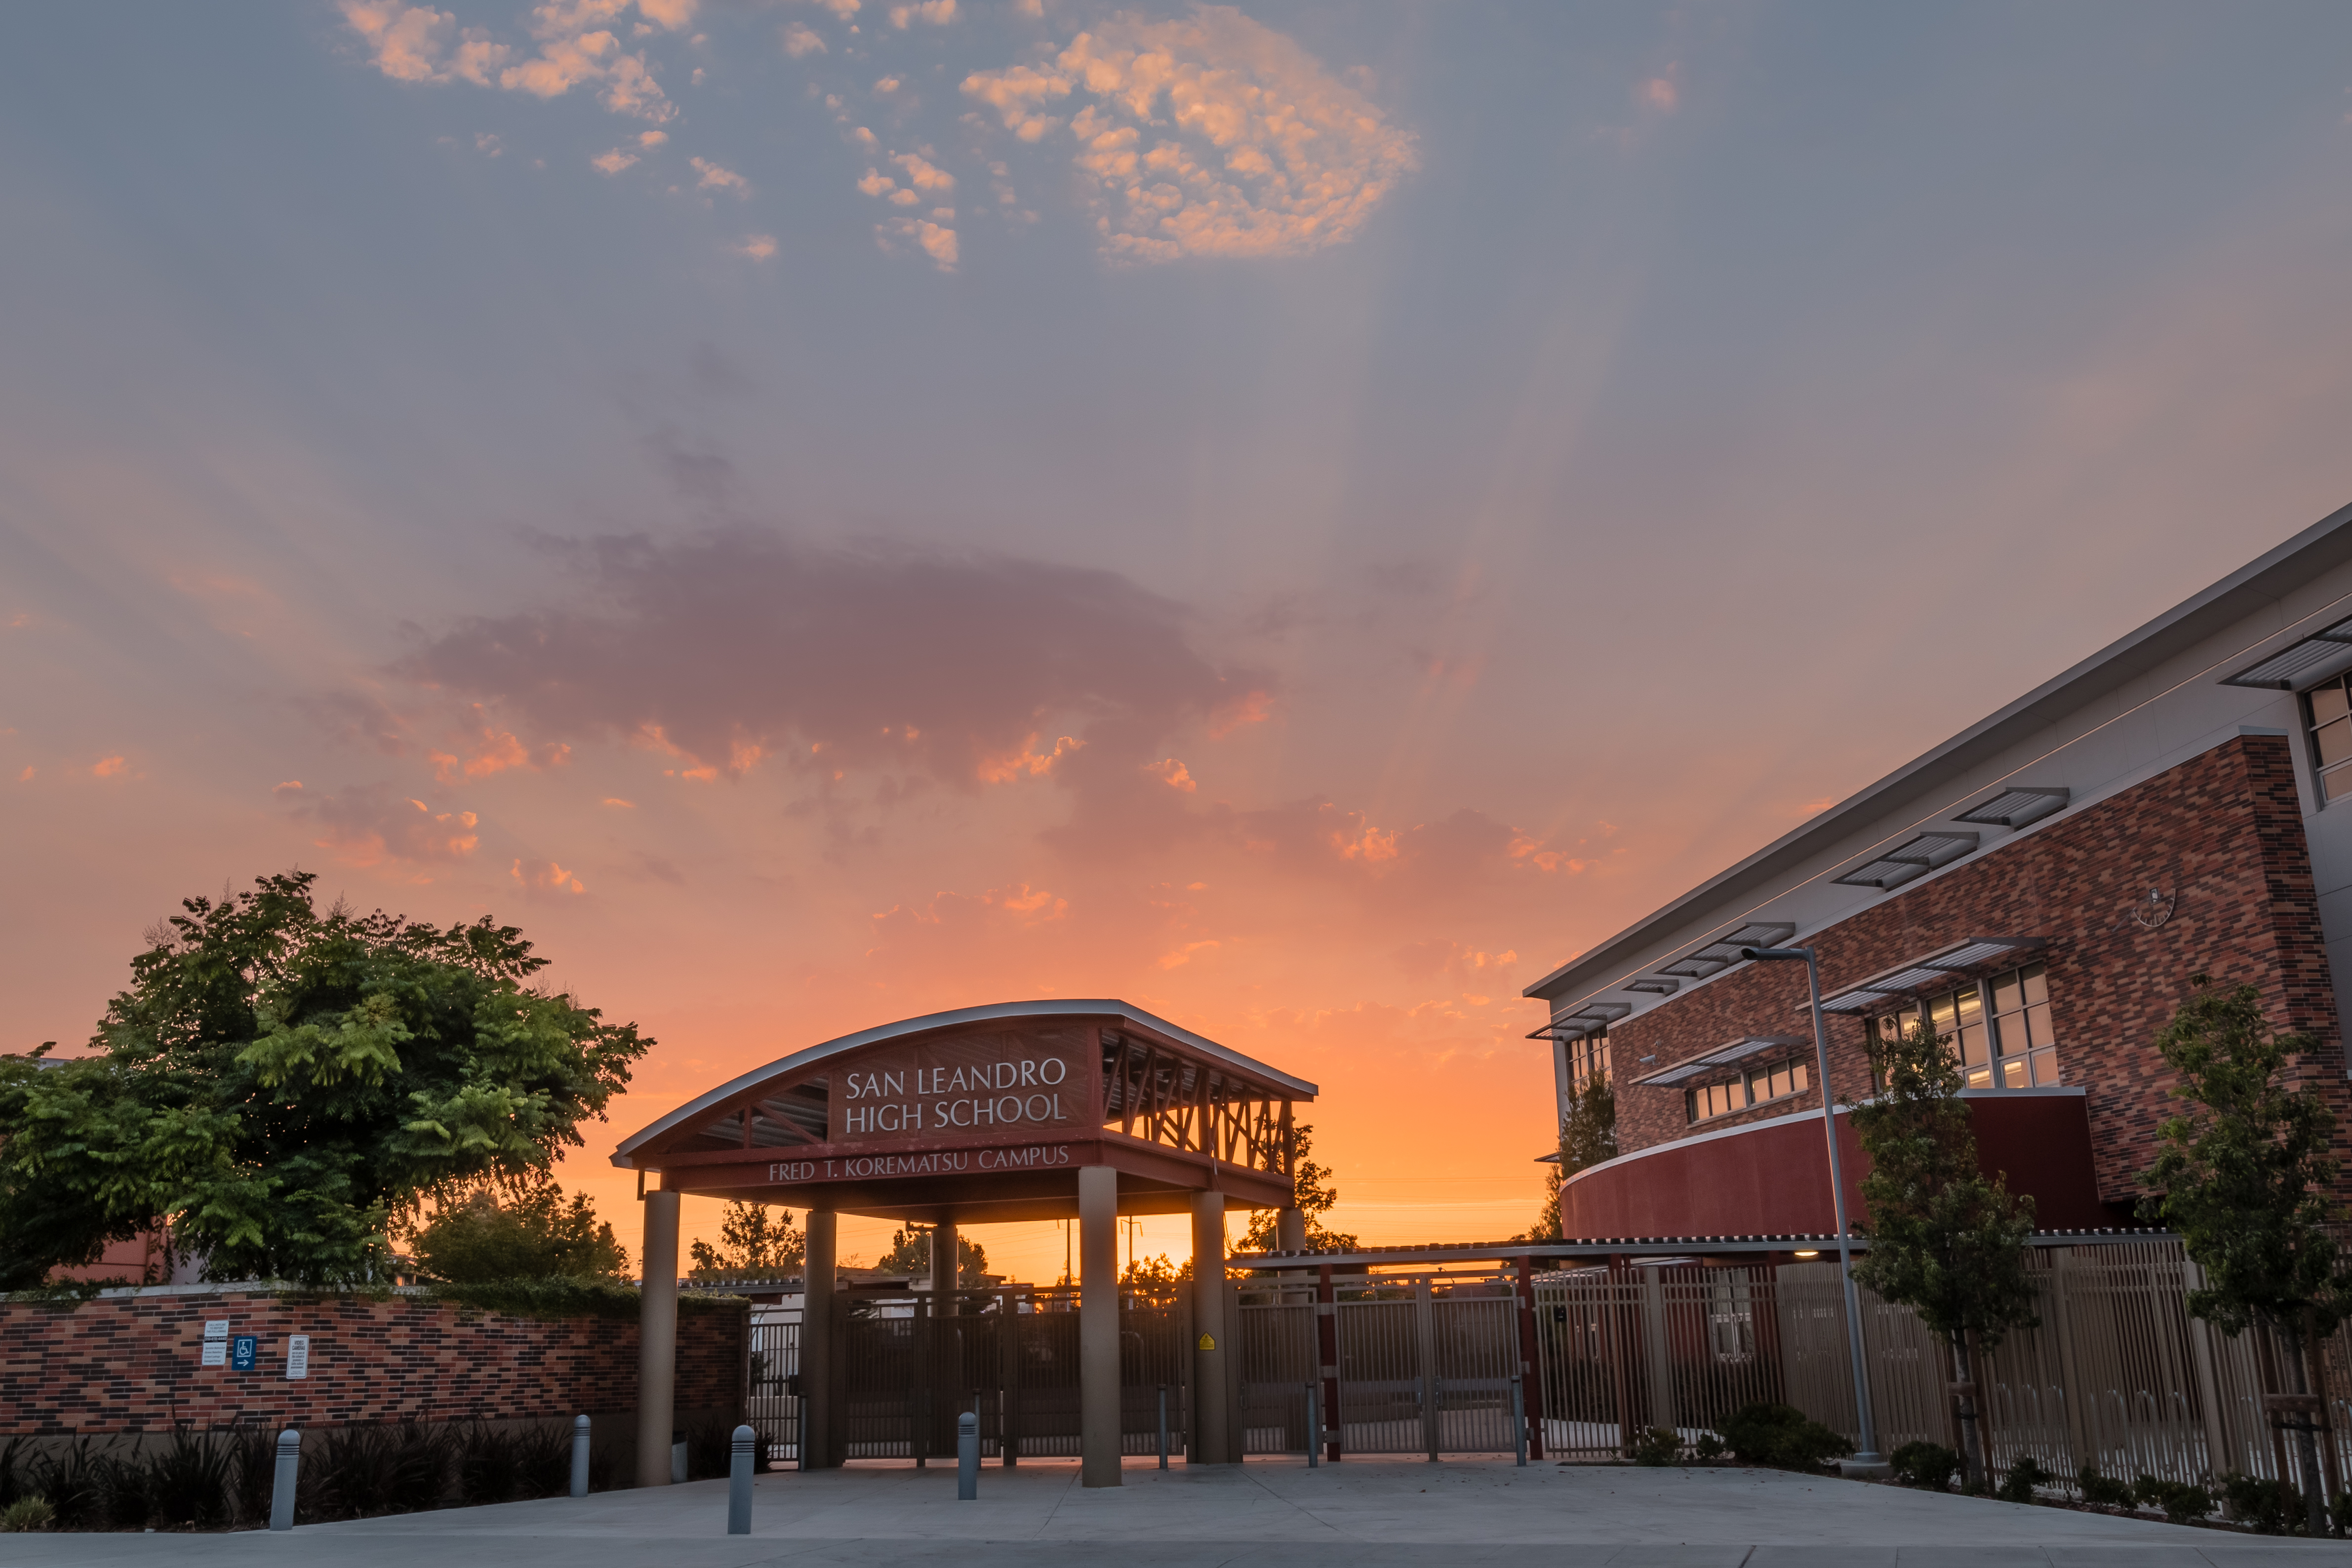
This is an HDR shot composed three different exposures using auto-bracketing. I just happened to walk into this beautiful sunset on Thursday night. :) I've been experimenting with Lightroom's HDR photo merge feature. Here are some random tidbits I find useful when taking HDR pictures:
Lightroom's HDR merge is really one of the simplest HDR tools out there. I personally don't prefer over-processed HDR images. I like HDR pictures with a more "natural" look. With Lightroom's HDR tool, it simply extends the dynamic range of my picture and gives me a lot more room to play with the shadows and highlights. It's easy to use and works great with my workflow.
Continuing on street photography journey this week. I was using my Rokinon 85mm manual lens. It was definitely a challenge to nail focus with this lens especially shooting at f/1.4. It's still a learning process for me.
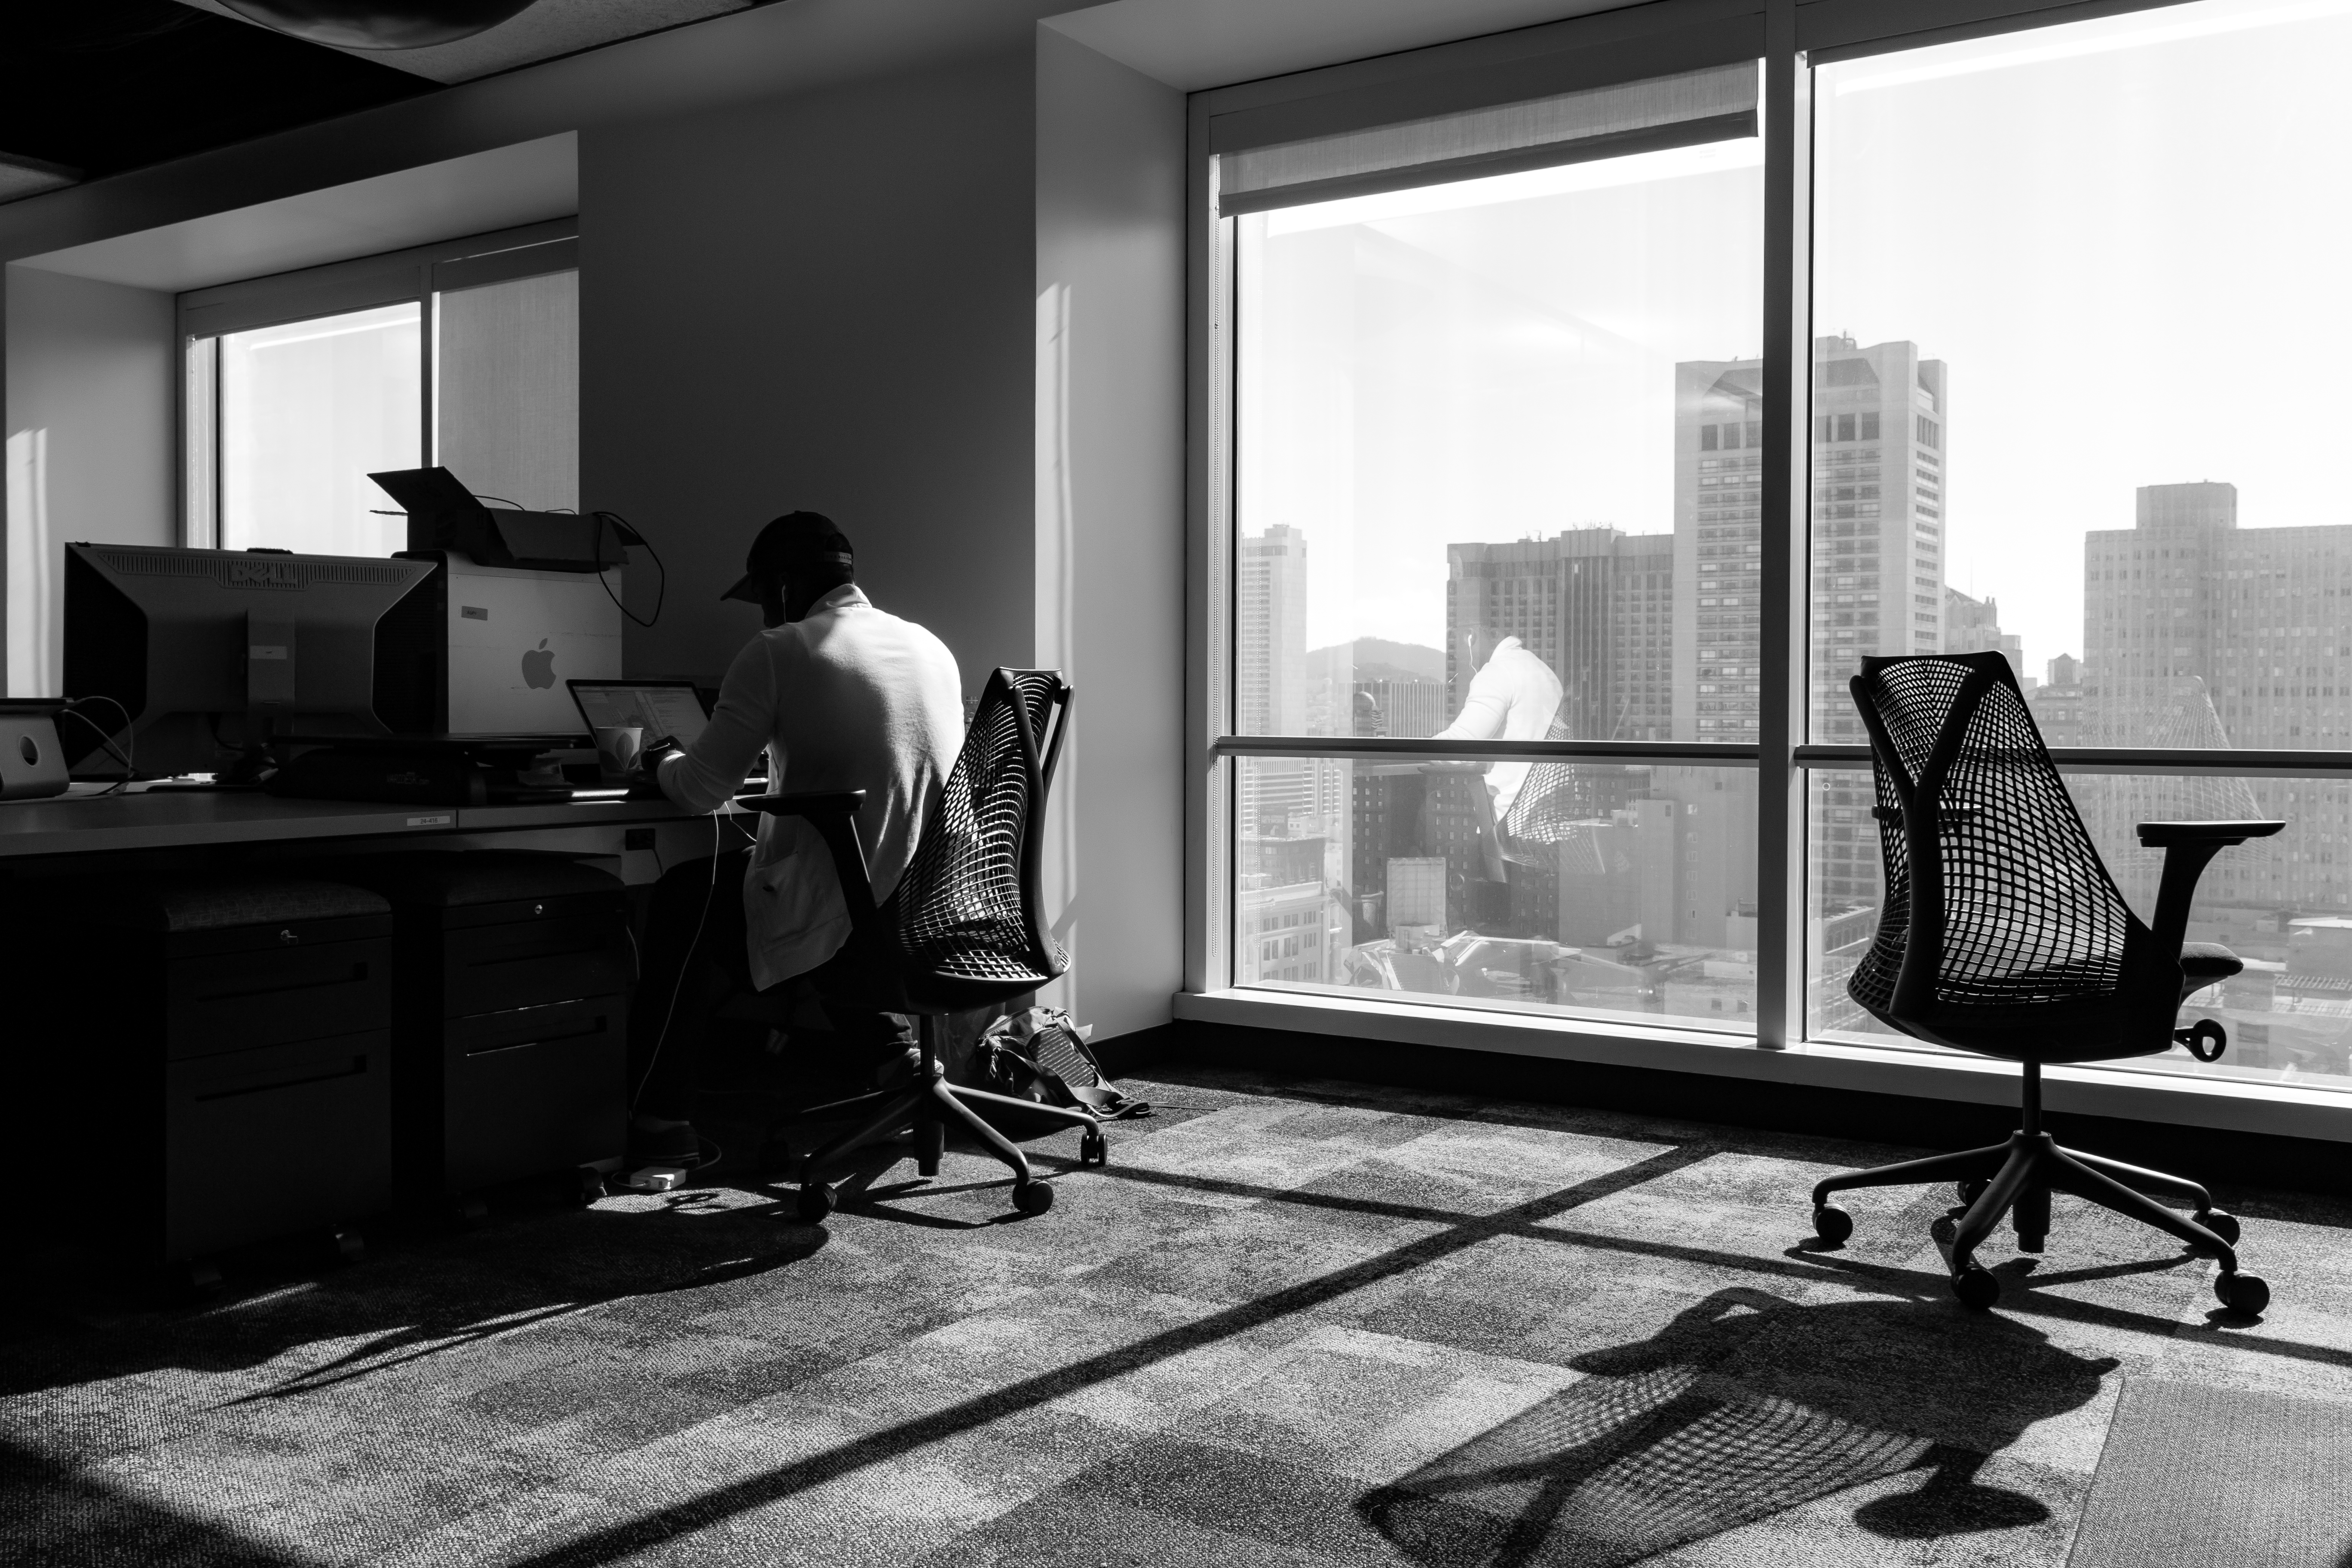
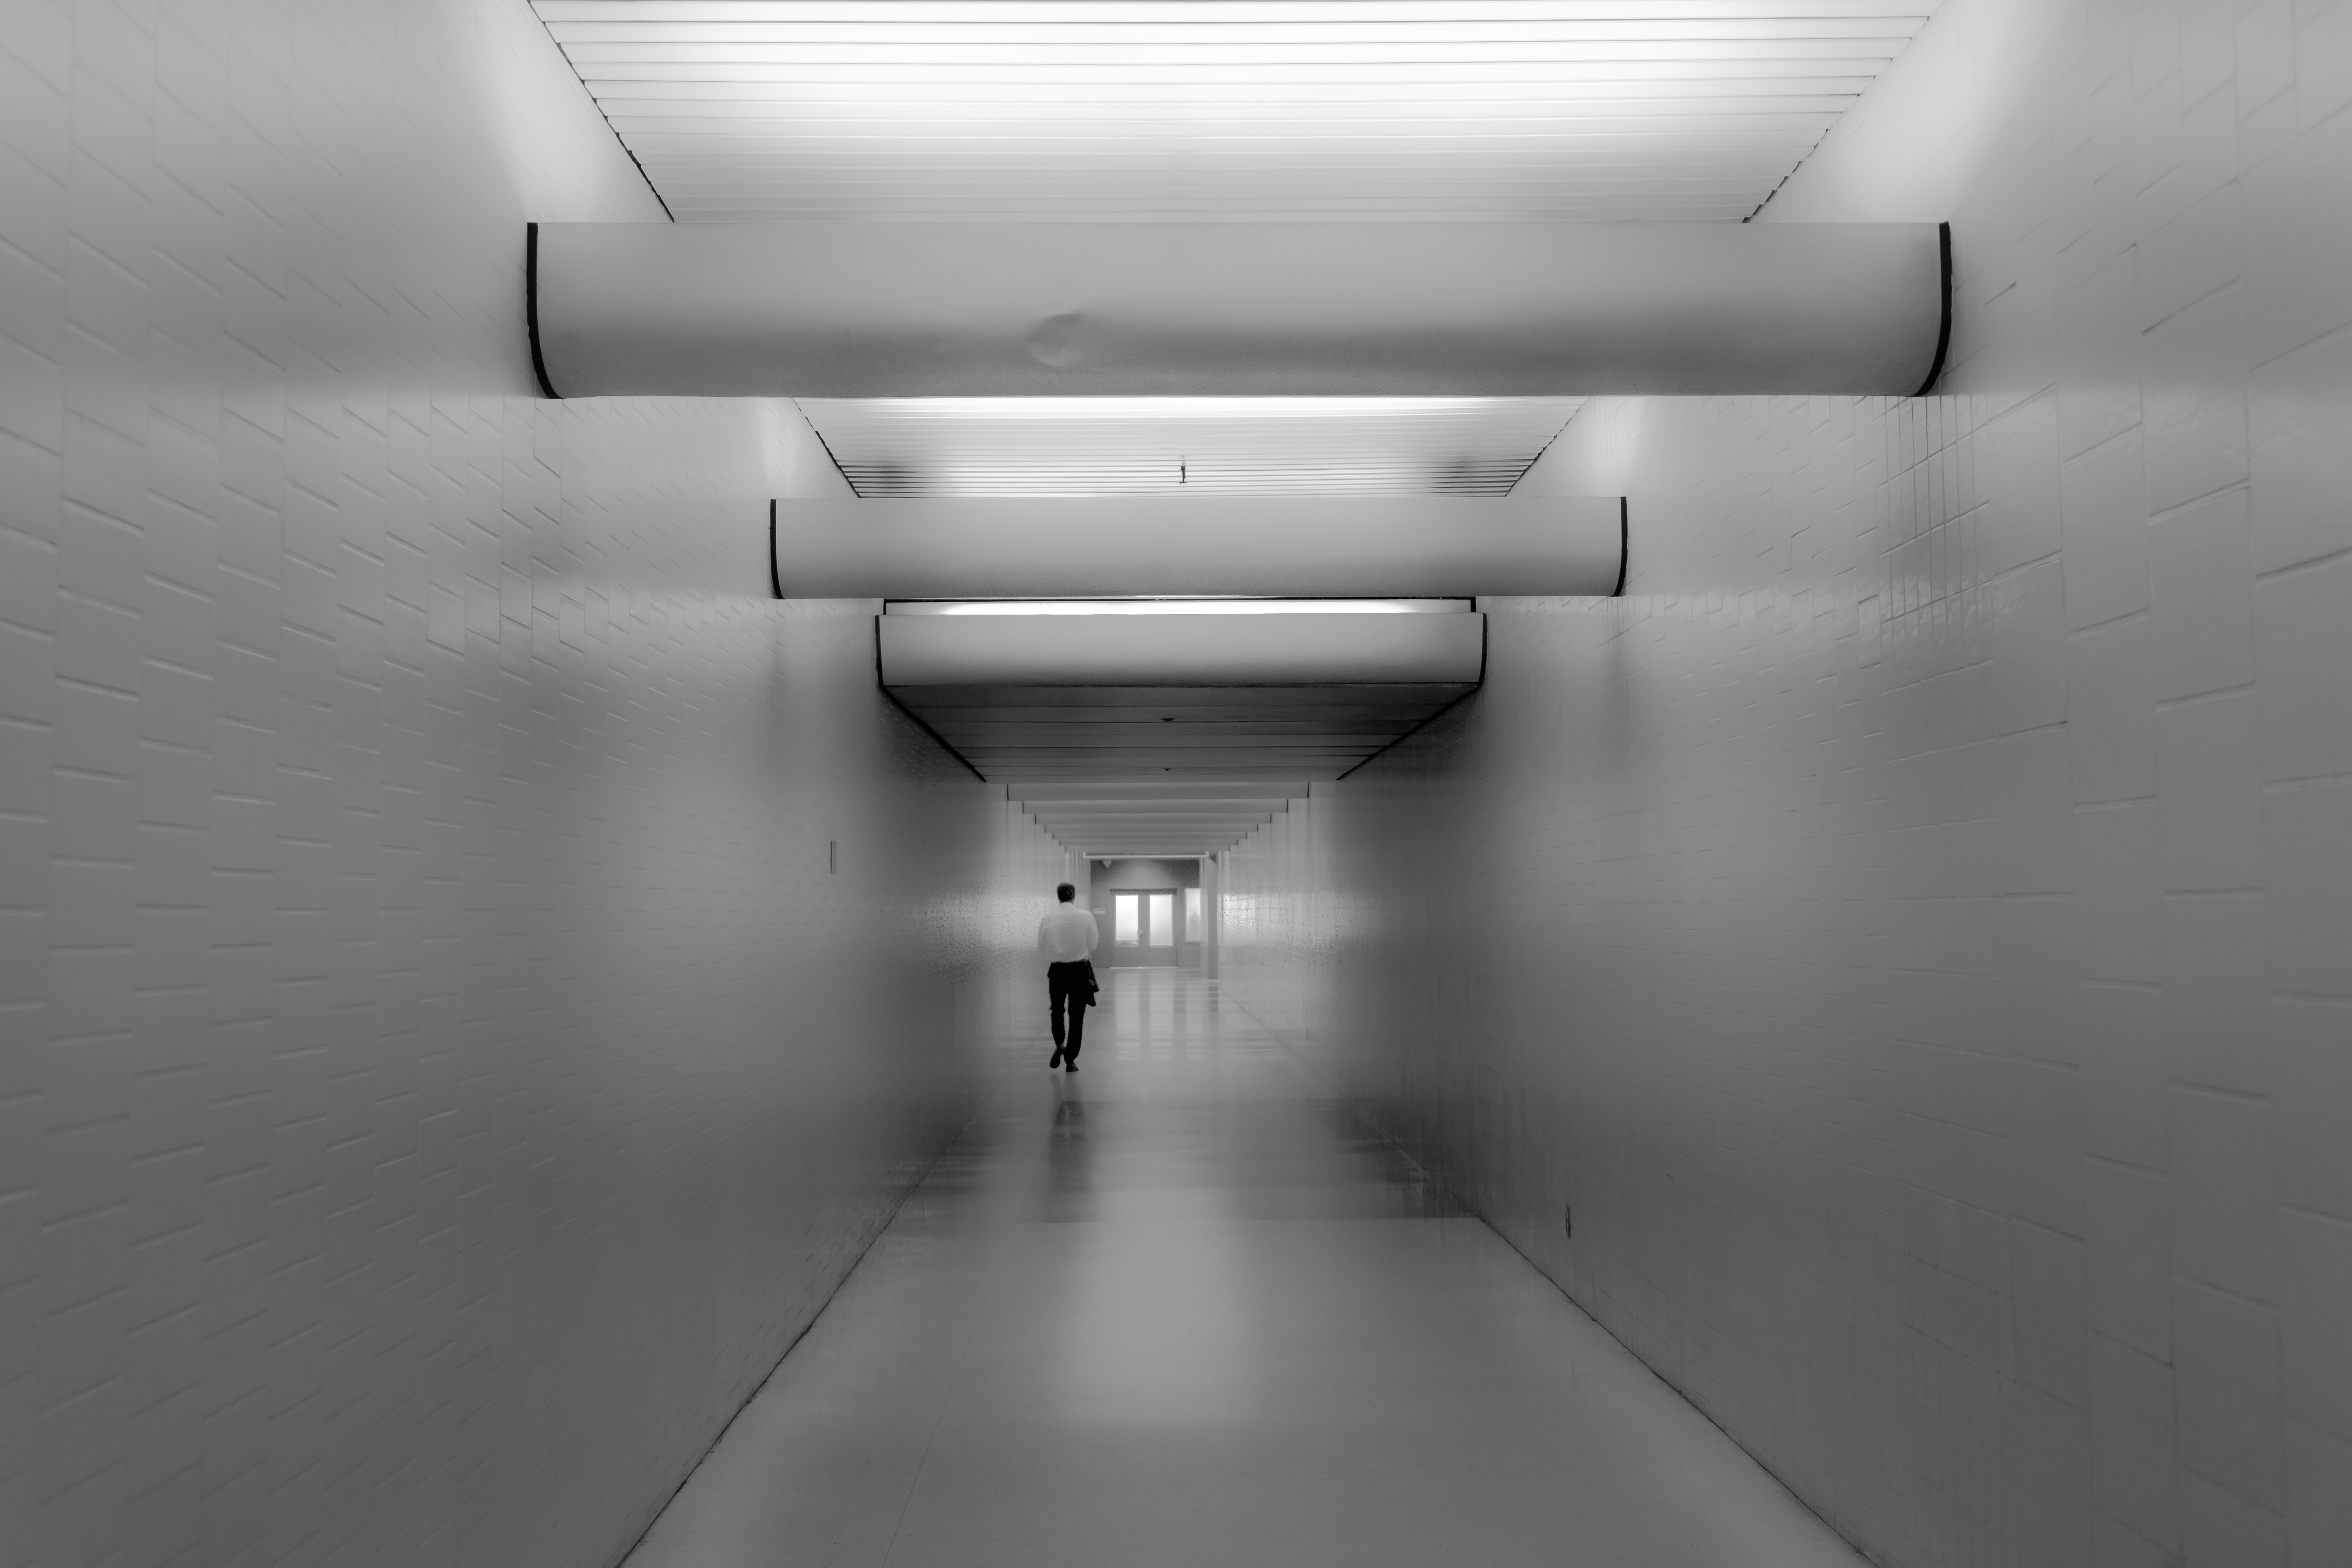
This secret tunnel connecting BART to Montgomery 44 was a much talked about subject this week at work. I figured I'd check it out myself. I had already seen some pictures of the tunnel on Flickr, so I had an idea of the types of pictures that I could shoot. This picture captured the mood I wanted to show for the tunnel. It has been edited quite a bit in Lightroom to achieve its look. Before I shot this picture, I tried to visualize the look I'd like it to have after editing. For better or worse, digital editing has definitely change how I approach a picture in-camera.
This is my favorite shot of the week. I took it during an evening around my neighborhood. It was a combined shot of two 30-second consecutive shots using my Canon 70D's in-camera multiple-exposure. The Canon 70D has a slowest shutter speed of 30s without going into bulb mode. By using an averaged double-exposure, I was able to captured an 1 minute exposure without the need of going into bulb mode with a remote or using an ND-filter. This longer exposure allowed me to capture the movement of the clouds as well as couple of cars driving by. These elements made an otherwise boring picture a bit more dramatic.
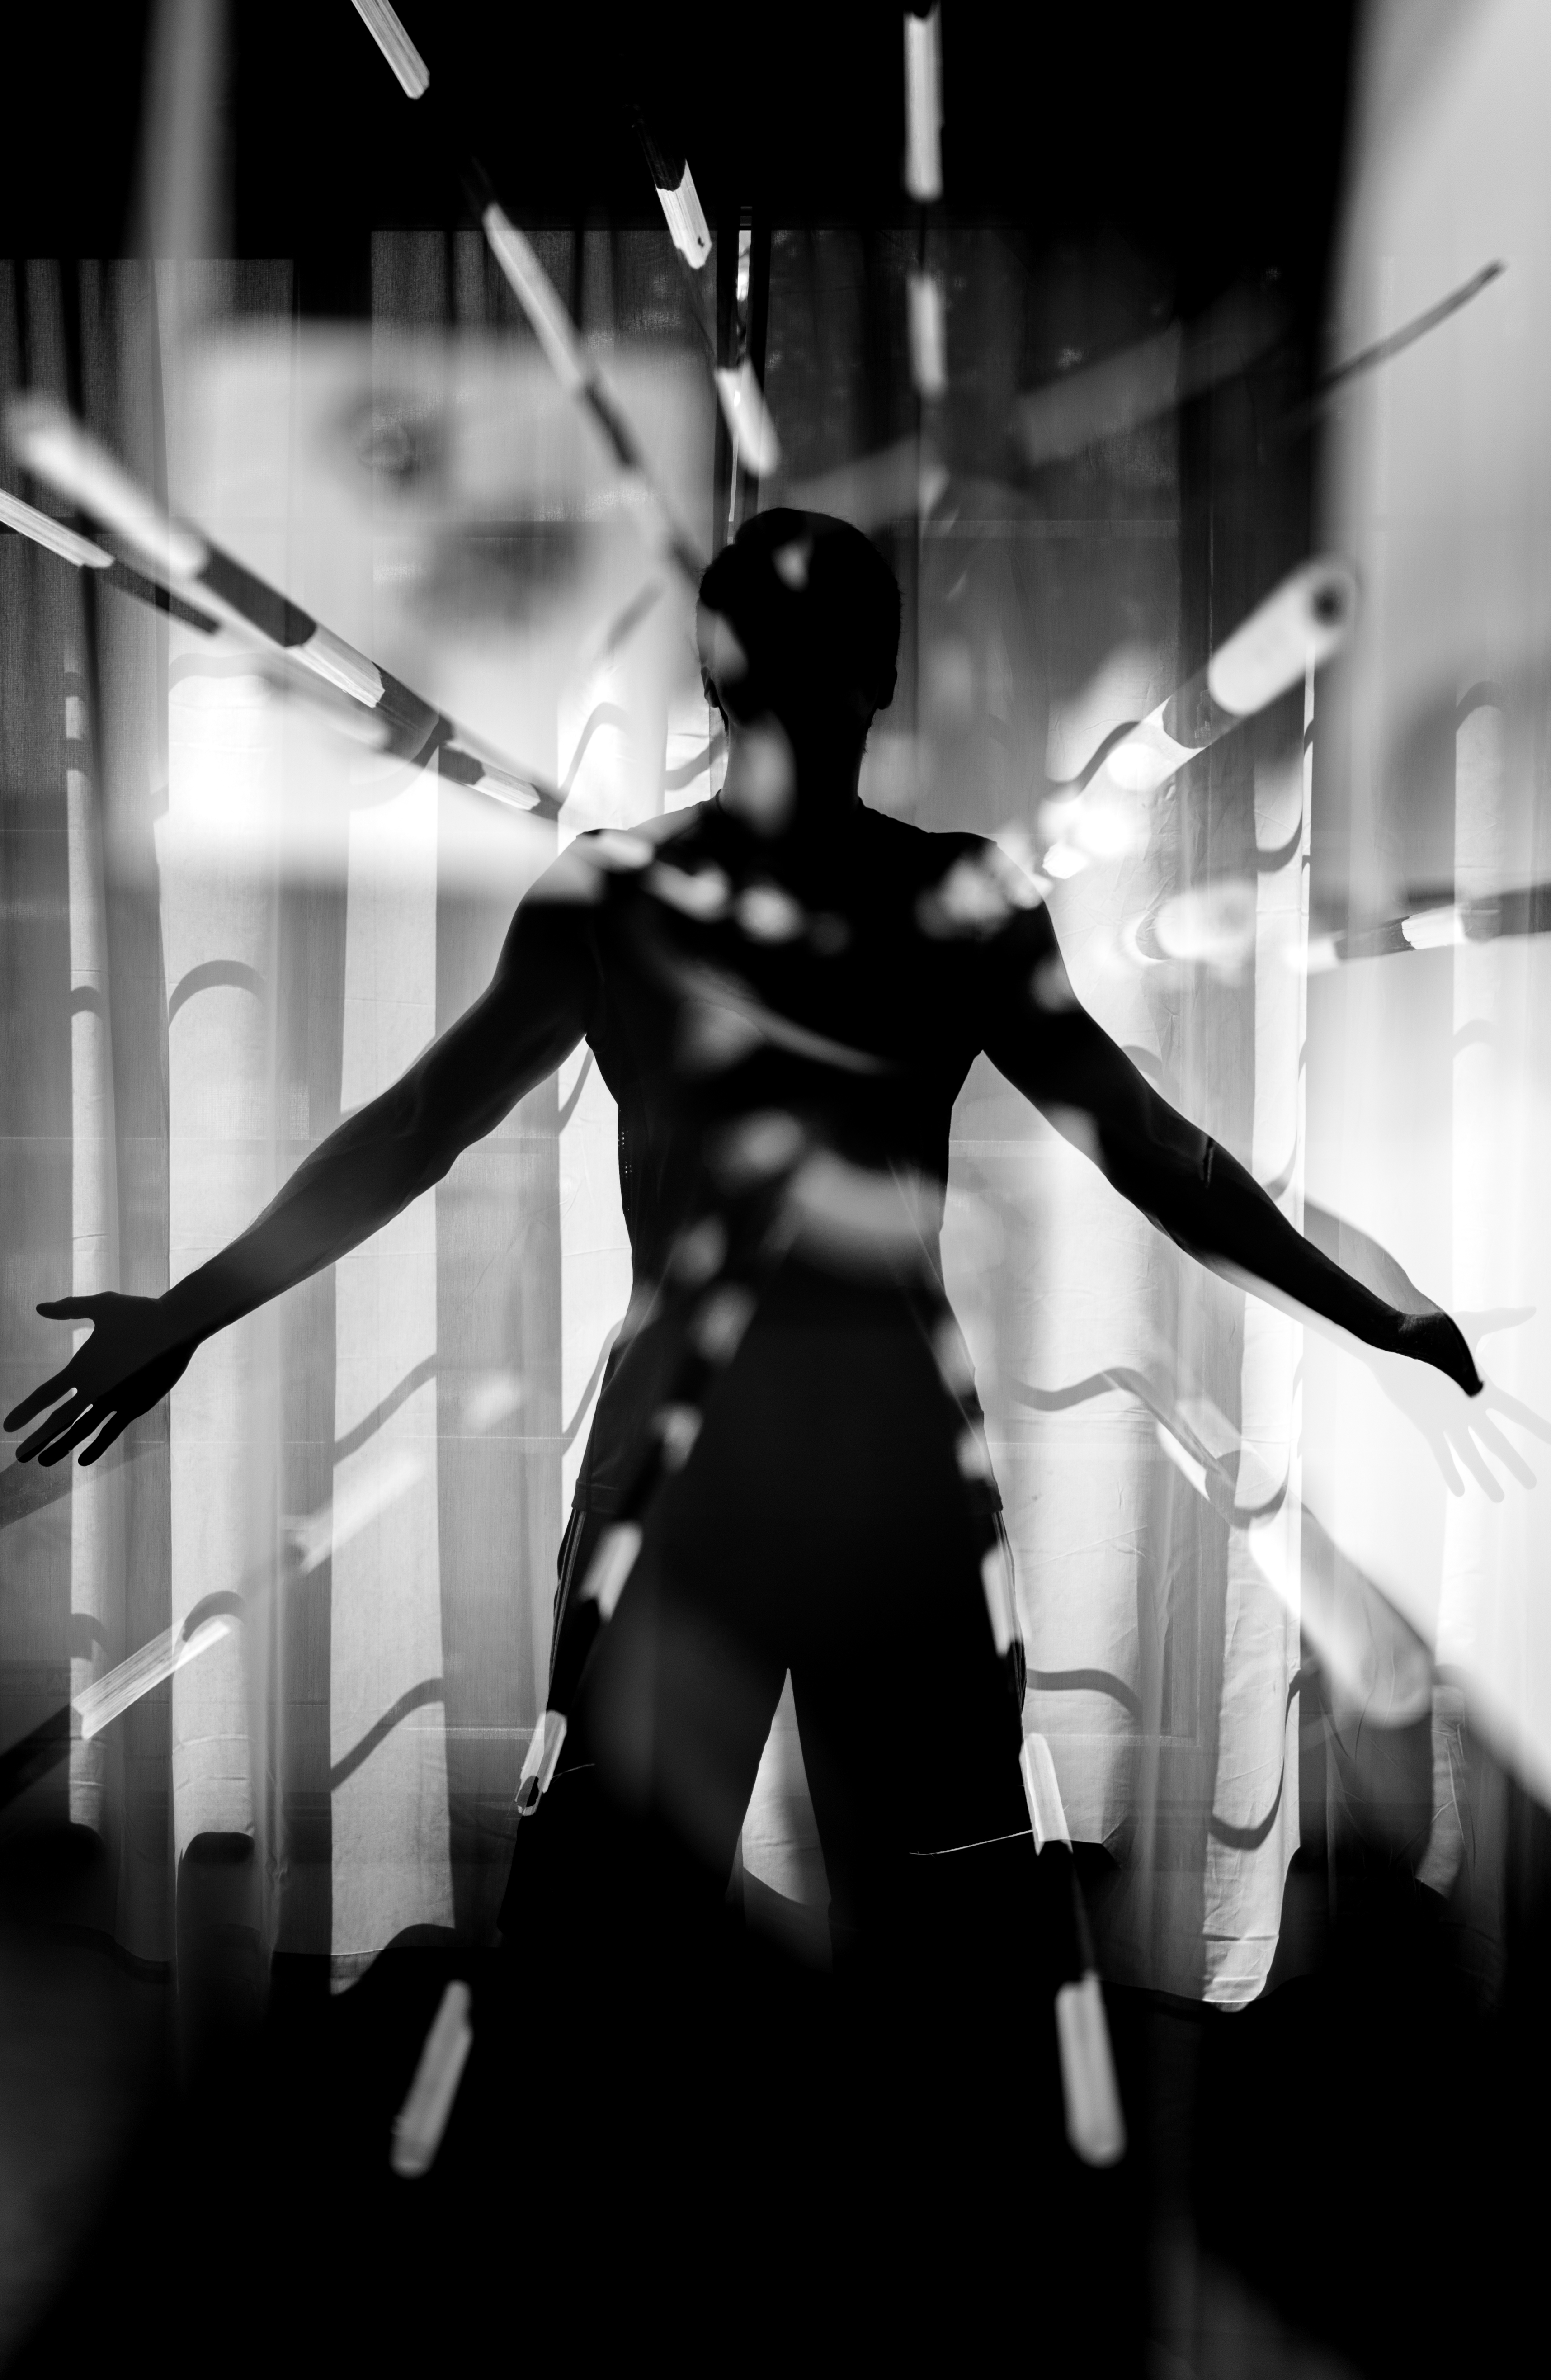
This week I set out to learn about double-exposures. The picture was taken using in my Canon 70D's in-camera double-exposure mode and edited in Lightroom. Finding interesting silhouette and background to combine was definitely a challenge. I'll need a lot more practice with this technique. For now, this is the best picture I got for this week.
If you're interested in learning more about this technique, check out these videos:This week I wanted to emphasize on "filling the frame". My unofficial theme was composition simplification through magnification. You can find my weekly progress here. All the shots were taken on a 55-250mm macro lens. Even though I tried to focus mostly on abstract compositions, I couldn't stop myself from snapping a few street shots here and there...
Of all the pictures, the one below was my personal favorite this week. Our office has always had a very nice sunset. As I was walking out of the office this particular day, I spotted the Sun setting behind a tall building, creating a glowing backdrop. I took a few sample shots through the window. They looked amazing. I quickly ran out of the office to look for a better angle. Few minutes later, this picture was taken. I was lucky enough to have caught the sunlight peeking through the building. It's the reason I picked this photo as my picture of the week.


Post a comment